
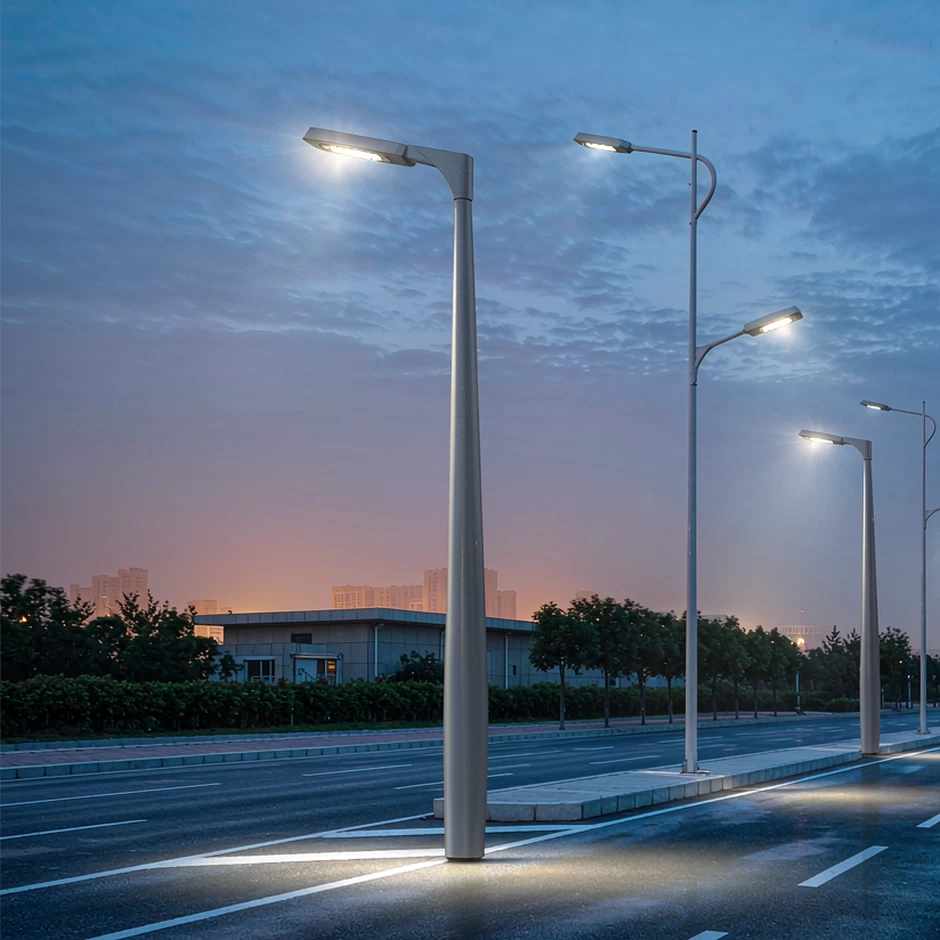
Why "same wattage, different road" happens
Most roadway complaints come from three places: dark patches between poles, light spilling into bedroom windows, and a glare source that makes driving harder rather than easier. None of these are caused by a lack of lumens. They are caused by a light distribution that does not match the road geometry.
A luminaire's lumen package tells you how much light leaves the fixture. Its photometric distribution tells you where that light lands. When you buy road lighting, the second number decides whether the project passes commissioning.
Start with the road class, not the fixture
Before picking a fixture, pin down the target. Roadway design standards (IES RP-8 in North America, CIE 115 and EN 13201 elsewhere) classify roads by traffic volume, speed and pedestrian conflict, then assign target light levels and uniformity.
Typical maintained illuminance ranges you will see in municipal specs:
| Road type | Maintained average illuminance | Uniformity Eavg:Emin |
|---|---|---|
| Residential / local street | 5–10 lx | ≤ 4:1 |
| Collector road | 10–17 lx | ≤ 4:1 |
| Major arterial | 17–30 lx | ≤ 3:1 |
| Intersection / conflict area | 1.5× the approach road value | ≤ 3:1 |
Two details buyers regularly miss:
- Maintained, not initial. A design must be calculated at end-of-life light output, using a maintenance factor (lumen depreciation × dirt depreciation), typically 0.70–0.85 for LED roadways. A road designed at initial lumens will be below spec within a few years.
- Glare has a number. On higher-speed roads, designers check veiling luminance or threshold increment (TI), commonly capped around 10–15%. If a tender is silent on glare, add it — it is the clause that prevents "too bright in your eyes" complaints.
IESNA Type I–V: what the distribution types actually mean
IES classification describes the shape of the light patch on the ground, expressed in multiples of mounting height (MH). Lateral types I–V describe the sideways spread; the suffix (VS, S, M, L) describes the longitudinal spread along the road.
| Type | Shape of the light patch | Typical lateral coverage | Where it is used |
|---|---|---|---|
| Type I | Two-way, narrow, both directions | ~1.0 × MH | Walkways, narrow medians, paths |
| Type II | Wider two-way spread | ~1.75 × MH | Wide walkways, entrance roads, narrow streets |
| Type III | Throws light out to one side | ~2.75 × MH | The standard roadway optic; pole at the kerb, light thrown across the carriageway |
| Type IV | Forward throw, semicircular | ~2.75 × MH forward | Wall or perimeter mounting, where light must go forward only |
| Type V | Circular, roughly symmetric | Circular | Intersections, roundabouts, plaza and parking areas |
The longitudinal suffix tells you how far apart poles can go: VS (very short, up to ~1 × MH), S (short, ~2.25 × MH), M (medium, ~3.5 × MH) and L (long, ~6 × MH). A roadway fixture is usually a Type III-M or Type II-M; an intersection calls for Type V.
Here is the practical rule: the fixture's lateral throw should roughly cover the road width without overshooting it. An 8 m pole with a Type III optic throws meaningfully out to roughly 20–22 m, which suits a 6–8 m carriageway lit from one side. Put the same fixture on a 4 m residential lane and most of its output lands on someone's front garden.
BUG rating: the clause that prevents complaints
BUG stands for backlight, uplight and glare, an IES method (TM-15) that rates each from 0 to 5 — lower is better.
- Backlight (B) — light escaping behind the fixture, into neighbouring property.
- Uplight (U) — light going above horizontal, the component that creates skyglow. Dark-sky programmes and many municipal codes require U0 (or the lowest available rating).
- Glare (G) — high-angle light that causes discomfort for drivers and residents.
Ask for the BUG rating on the datasheet, together with the IES photometric file. A rating of roughly B2–U0–G2 or better is a common municipal ask; the tighter the site (residential frontages, low poles), the lower you should push. This single line prevents the most expensive outcome in roadway lighting: installed fixtures that have to be re-aimed or shielded after handover.
Pole height, spacing and layout geometry
Once the optic is chosen, geometry does the rest. The standard lever is the spacing-to-mounting-height ratio, typically 3:1 to 4:1 for roadway optics — that is, poles spaced three to four times the mounting height.
Worked example, one-sided layout:
- Carriageway width: 7 m
- Mounting height: 8 m
- Optic: Type III-M
- Indicative spacing: 8 m × 3 to 4 = 24–32 m
If that produces a uniformity worse than the table above, the fix is almost never "more watts". It is a shorter spacing, a taller pole with a wider optic, or a different arrangement:
- One-sided — cheapest, works when the road is roughly as wide as the mounting height.
- Staggered — poles alternate sides; better uniformity on wider roads.
- Opposite — poles facing each other; used on wide arterials and dual carriageways.
- Twin bracket / median — two luminaires per pole or a central median array; used for very wide or high-speed roads.
Confirm the final layout with a photometric calculation (DIALux, AGi32 or similar) using the manufacturer's IES or LDT file. A layout that was never calculated is a layout that will be argued about at commissioning.
Electrical and durability specs that get forgotten
- Surge protection. Roadway poles are lightning magnets. Specify 10 kV / 10 kA minimum (ANSI C136.2 / IEC 61000-4-5 test basis), and 20 kV in storm-exposed regions. A luminaire without a stated surge rating is the most common cause of "half the street died after one storm".
- Ingress and impact. IP66 for the optical compartment, IK08 or better on the housing, and a breather or drain to stop condensation.
- Future-proofing. A NEMA 3-pin, 5-pin or 7-pin receptacle (ANSI C136.41) or a Zhaga Book 18 socket lets you add a photocell, motion sensor or node later without changing the luminaire.
- Colour. 3000 K is increasingly preferred on residential and dark-sky-sensitive roads; 4000 K is common on arterials. CRI 70 is normally adequate for roadways; specify CRI 80 where CCTV or licence-plate recognition matters.
- Controls. Ask for a dimming profile (0-10 V or DALI) so the authority can run a midnight step-down and save the second half of the night's energy.
- Compliance. For North American projects, the fixture needs a UL or ETL listing for inspection sign-off and a DLC SSL listing if a utility rebate is part of the business case.
Five mistakes that fail roadway projects
- Buying by wattage. Replacing 150 W with 150 W says nothing about where the light goes.
- No photometric file. Without an IES/LDT file, nobody can verify the design or the tender claim.
- Recycling old pole spacing. New optics throw differently from the luminaires being replaced.
- Ignoring backlight and uplight. The cost of re-aiming installed poles dwarfs the saving of a cheaper optic.
- No surge rating in the spec. The failures show up in year two, long after the warranty conversation ended.
RFQ checklist
Send this with the enquiry and compare answers line by line: IES/LDT photometric file; LM-79 measured output; LM-80 and TM-21 life data with the claimed L70 hours; BUG rating; beam type (Type II-M, Type III-M, Type V); IP and IK ratings; surge rating in kV/kA; operating temperature range; driver brand and dimming protocol; NEMA or Zhaga socket option; housing material and warranty terms; and a photometric layout proposal for your road cross-section.
Where Solarix Lighting fits
Solarix Lighting (Guangzhou Xuyuan Lighting Technology Co., Ltd.) builds road, municipal and rail-transit lighting — street and roadway luminaires, tunnel fixtures, station and depot lighting — and supplies the photometric files, DIALux layouts and life data behind every quotation. Our municipal road and transport projects run across station concourses, depots, urban arterials and city road networks, with CE, CCC, PSE and RoHS certification in place; for North American tenders, tell us your state or utility requirement at enquiry stage and we will confirm the current listing status before you commit.
Send us the road cross-section, carriageway width, pole height and target class. You will get back a distribution recommendation, a calculated pole layout and a batch-consistent quotation — usually within one working day.