
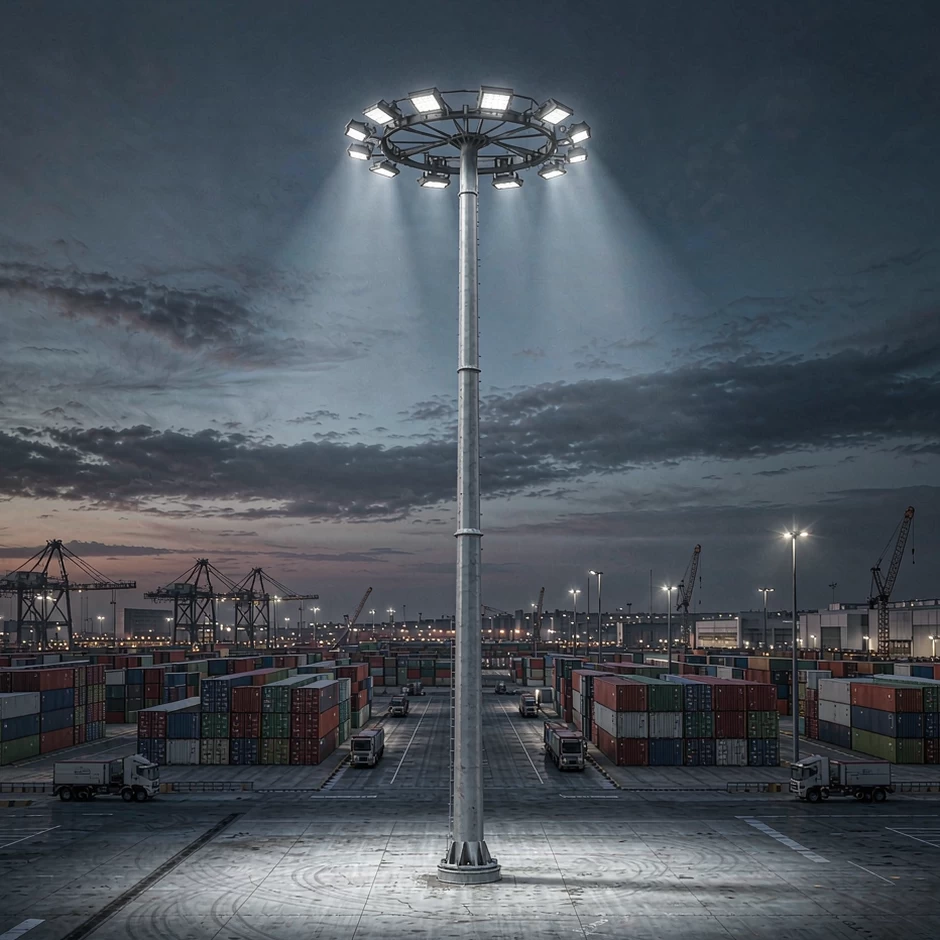
Why high-mast lighting is a system, not a luminaire
A high-mast installation is a tall pole, usually 20 to 50 metres, carrying four to eight flood luminaires, often with a winch that lowers the ring for maintenance. Buyers tend to compare only the luminaire datasheet: watts, lumens, beam angle. That misses most of what decides whether the site works.
Pole height sets uniformity, aiming sets glare, and the lowering system sets maintenance cost. A premium fixture on a badly aimed pole still leaves dark gaps and throws glare at neighbouring property.
This guide covers the system level; luminaire selection is covered separately.
Where high-mast lighting is used
High-mast systems appear wherever a large open area needs light from above without poles in the traffic:
- Ports and container terminals — crane lanes, stacking areas, truck routes. Priority: horizontal uniformity for safe movement, plus vertical light on container faces for identification.
- Rail yards and depots — inspection roads and stabling sidings. Priority: even light at walking level and low glare for staff.
- Industrial yards, mining and steel — stockpiles and loading bays. Priority: robustness, corrosion resistance, dust ingress.
- Sports stadiums and training grounds — pitch lighting. Priority: glare control, uniformity for players and cameras, flicker-free light for broadcast.
- Airport aprons and highway interchanges — very tall poles with strict glare and aviation constraints.
Each application has its own pass or fail metric, so do not reuse one specification.
Pole height and layout: start from the task, not the wattage
The common mistake is copying a 30-metre pole from a neighbouring site, then fixing the result with more powerful luminaires.
Work in this order:
- Define task illuminance and uniformity from the project standard or client brief.
- Choose a pole height that lets beams overlap before they reach the ground. As a rule of thumb, usable uniform span is about two to two-and-a-half times the mounting height.
- Set pole count so light pools overlap at the edges, typically by 10 to 20 percent.
- Then size luminaires to hit target lux and check the result in DIALux or AGi32 using the real IES files.
How many luminaires per pole
A 25 to 30 metre pole usually carries four to six luminaires; a 40 to 50 metre pole, six to eight. Fewer, larger units cut cost but make aiming less flexible; more, smaller units give smoother uniformity and easier spares.
Aiming and tilt
Aim each luminaire at a specific zone, typically 5 to 15 degrees outward. Over-tilting pushes light sideways, raises glare and wastes lumens. Ask for an aiming chart keyed to the pole layout and verify it at commissioning.
Uniformity: the number that decides perceived quality
Average illuminance says how much light lands on the area; uniformity says whether people can see. Two designs can both average 50 lux: one looks even, the other has bright pools and dark gaps.
Use two ratios:
- U0 = minimum / average. The main metric for large areas; higher is better.
- U1 = minimum / maximum. Stricter, and useful for task areas and sports.
EN 12464-2 sets task-dependent minimums for outdoor work areas, and port specifications commonly ask for U0 of 0.40 or better. EN 12193 is stricter for sports. Treat any single number as a starting point.
Measure uniformity on a grid after dark, at full output, with the driver thermally stable; a design that passes on paper can fail if poles are not vertical or aiming has drifted.
Glare: the hidden cost of too much light
Glare is light reaching the eye from the wrong direction: over-tilted luminaires, unshielded optics and excessive output. It causes neighbour complaints, poor driver visibility and unhappy players and cameras.
Metrics differ: outdoor workplaces use GR under EN 12464-2, sports use the CIE 112 GR method with EN 12193 limits, and roadway lighting uses TI. UGR is an indoor metric and does not apply outdoors.
Glare versus uniformity
Wider beams improve uniformity but spill light and raise glare; narrow beams cut glare but leave gaps. The usual answer is more poles at moderate height with controlled aiming, not fewer poles at maximum output.
Flicker and broadcast: the sports-specific requirement
In a port yard, flicker is a comfort issue. In a stadium, it is a technical requirement: broadcast cameras, especially slow-motion, expose modulation the eye ignores. A pitch can look perfect to spectators and strobe on camera.
The fix is at the driver. Specify a measured percent flicker at the camera frame rate, not a vague flicker-free claim. For HD broadcast, aim for roughly 1 to 3 percent or lower; high-speed replay may need under 1 percent. Constant-current drivers with low ripple are the practical route, and dimming must not add modulation.
What to ask for
Ask for a flicker report at 50, 75 and 100 percent output and at the dimming levels the venue will use. Test the fixture as installed, not the bare driver.
Serviceability and total cost
Maintenance is the cost buyers forget. A 35-metre pole needs a climbing team, a crane or a lowering system. The cheapest installation to buy is often the most expensive to own.
Specify:
- A lowering system with a rated winch, a secondary safety cable and a documented inspection interval.
- Driver gear replaceable at the luminaire, not sealed into the housing.
- IP66 ingress protection and IK08 or better impact resistance for yard conditions.
- Corrosion class to match the site: ISO 12944 C4 inland, C5-M for coastal and port locations.
- A spare-parts list and a lead-time commitment for drivers and LED modules.
Controls and energy
High-mast lighting is often left at full output all night, wasting energy and adding to light pollution. A simple control layer pays back quickly:
- Photocell and time-clock scheduling for dusk-to-dawn operation.
- 0-10 V or DALI dimming to 50-70 percent during low-activity hours.
- NEMA or Zhaga receptacles for plug-in controls, so sensors can be added later without rewiring.
- Surge protection matched to the site's exposure; outdoor masts are prime lightning targets. Our surge-protection guide covers the ANSI C136.2 levels.
Verify dimming for flicker and driver stability at low output. Not every driver dims cleanly to 10 percent.
RFQ clauses for high-mast projects
Put system requirements in writing, not just luminaire data. A practical clause set:
| Item | Requirement to state |
|---|---|
| Pole height and finish | Height, hot-dip galvanised, wind-load standard |
| Luminaire count | Units per pole and total |
| Illuminance | Average lux and measurement grid |
| Uniformity | U0 and U1 minimums |
| Glare | GR limit per the applicable standard |
| Colour | CCT, CRI, and TLCI for broadcast |
| Flicker | Measured percent flicker at stated frame rate |
| Ingress and impact | IP66, IK08 or better |
| Corrosion | ISO 12944 class for the site |
| Controls | Dimming protocol and receptacle type |
| Documentation | IES files, LM-79, LM-80/TM-21, aiming chart |
| Service | Lowering system, spares, warranty terms |
Summary
High-mast lighting succeeds or fails at the system level: fix pole height and layout first, then uniformity, glare and flicker, then serviceability and controls. A luminaire that wins on price can lose on maintenance, corrosion and glare complaints.
At Solarix Lighting we build high-mast and large-area flood systems for ports, rail depots, industrial yards and sports facilities, with photometric layouts, aiming charts and batch test reports supplied with the order, so the light you approve on paper is the light the site receives.